

How To Create Own Image

Did you know that you can use Gravit Designer not only to design icons and illustrations, but also to edit your photos and even to create photo manipulations?
If you didn't know yet, this is your chance to learn more about it!
In this article we will show you how to remove backgrounds and manipulate shapes and colors to create a photo collage.
Pick some interesting elements
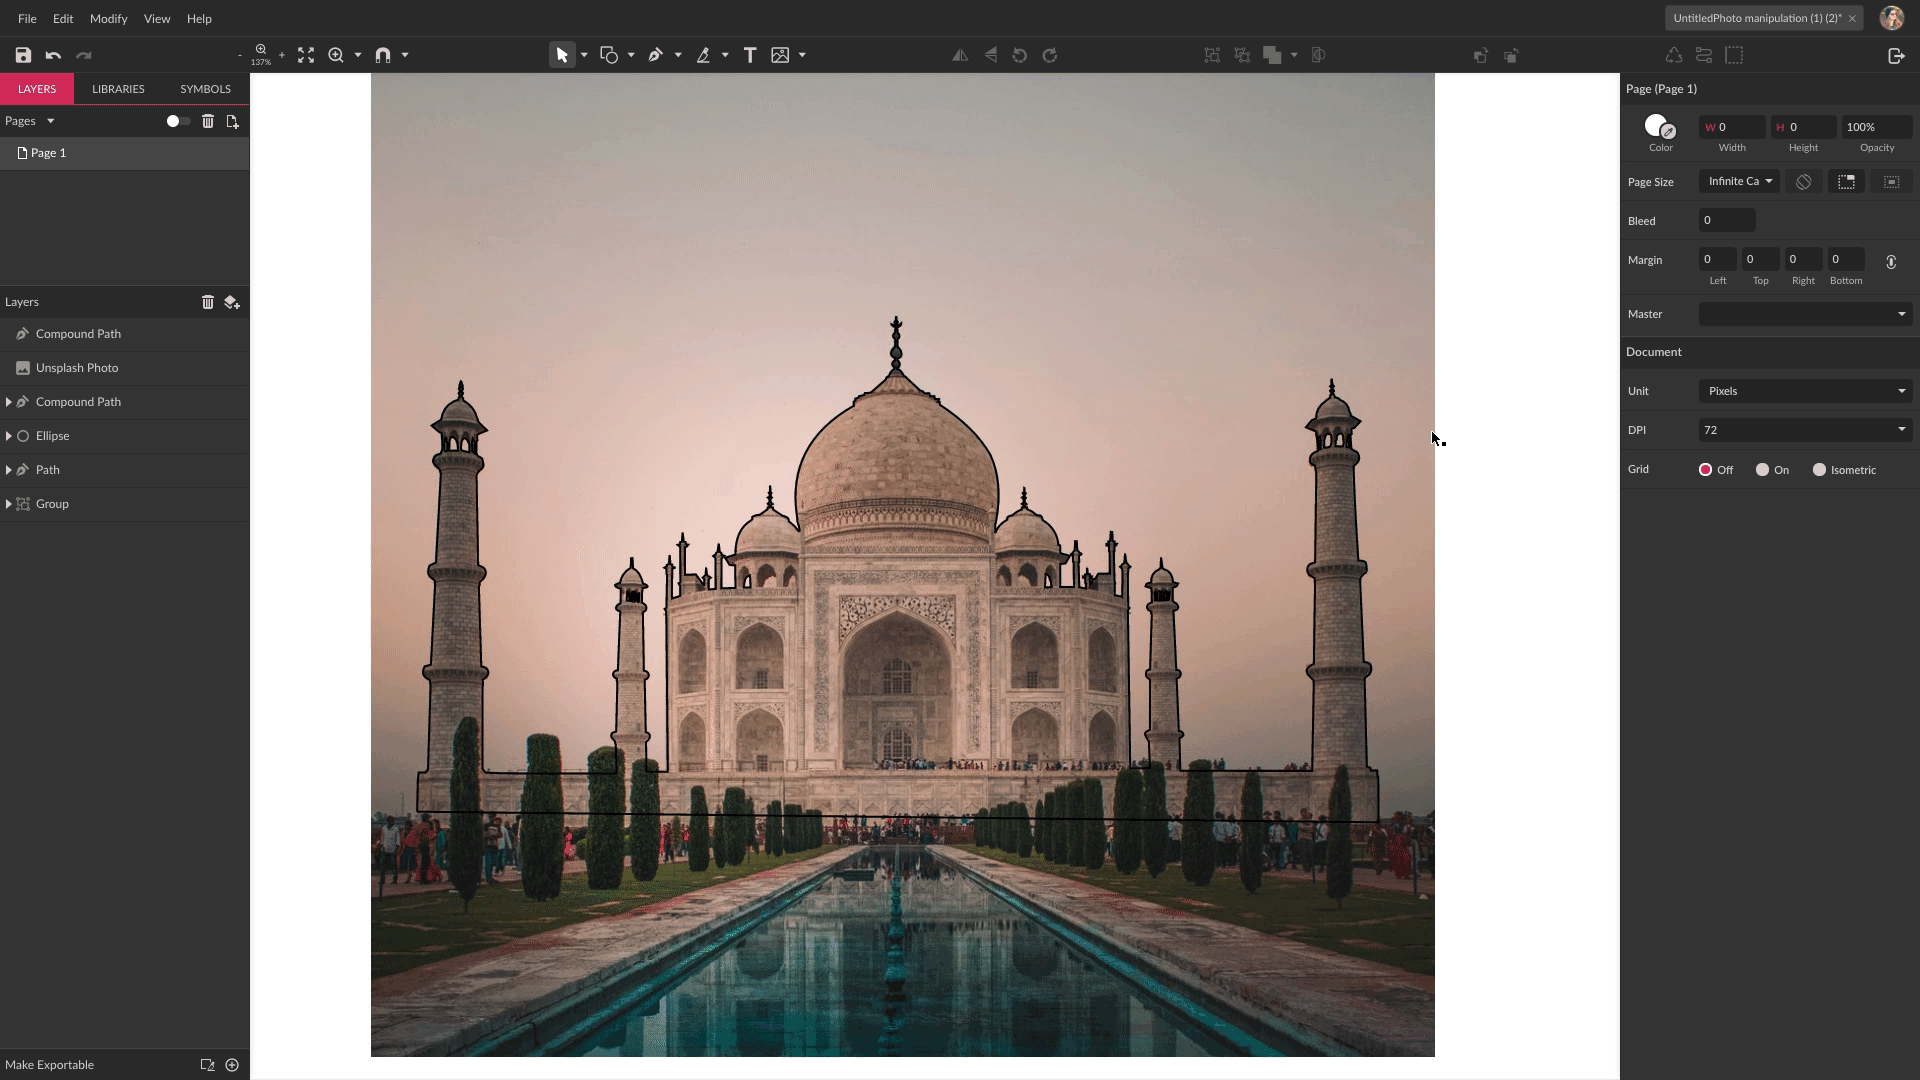
Let's start by choosing some nice photos that could be put together to form a great collage. You can go to Gravit Designer'sLibraries and get pictures directly from Unsplash!

I chose these pictures directly from the Unsplash category for the collage I'm going to create:

Start cutting
To remove the background of an image with Gravit Designer, you need to create aMask. You can do that by tracing around the part of the image you want to keep using thePen Tool. You can check our complete tutorial on this toolhere in case you have any doubts on how to use it.

To make "holes" inside your main shape, like for the little windows of the towers, for example, you just need to draw the shape of this cut, position it on top on the layer hierarchy, then select this and the main shape and useSubtract to create a cut.

After you're done with the hole-cutting process, you need to convert the createdCompound Shape back to aPath withRight Click →Convert to Path, to be able to use this shape as aMask.

Mask the images
Now you can create the actual mask by inserting the image inside the shape you just drew. There are a few ways to do that! You can drag the image layer to the path layer on theLayers Panel, or you can use theClip Tool: place the image on top of the path, select both and click the "Clip" button on the toolbar:
You can check more details about all the masking techniques on ourUser Guide.
After you're done creating your masks, you can make any adjustments necessary to the shapes by using theSubselect Tool. You can move some nodes around and make some corners more rounded until you're satisfied with the result.

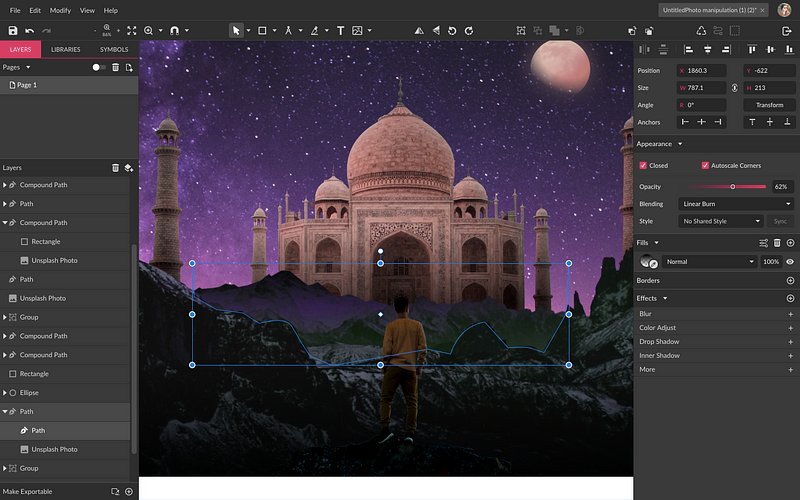
Applying effects and assembling everything
Now it's time to add some effects to your masks. You can start by creating a rectangle of a darker color and placing it behind the image to better see the edges.
Remove the border or just toggle its visibility, then start by adding theBlur Effect. You can find Blur at the bottom of the Inspector Panel under theEffects tab. You just need enough blur so that the shape's edge is not too sharp and looks more natural, so I added1px.

Before you make any color correction to the images, assemble your elements. This will make it easier to correct the color of each image so that they look like all images belong to the same "scene".

We'll be using mainly Color Adjust and Inner Shadow on the images now to adjust them. Both can be also found under the Effects tab as the Most Used effects. Let's start with recoloring our Taj Mahal! I'll changeBrightness to-7,Contrast to3 andHue to-16.

Next are the mountains, withBrightness to-5,Contrast to8,Hue to-100 andSaturation to16.

For the starry sky on the background, changeBrightness to9,Hue to-11 andSaturation to-11.

Next is the adventurer on the front, so let's setBrightness to-24,Contrast to-19 andHue to-4.

As for the moon let's setBrightness to-14,Hue to-18 andSaturation to-11, but also anOverlay with Blend toggled on. TheBlend is what will give you the transparency effect on the image. You can find theOverlay effect clicking the plus icon on theEffects tab, choosing theAdjust category.

That shirt doesn't look good
The blue tone of the man's shirt looks a little out of place even after using some color corrections, right? So we need to change the color of the shirt separately. To do that, make a copy of that mask, then erase all the nodes and adjust until you have only the shirt left as a second mask above the original:

Now you can adjust the settings of the Color Adjust already added to this shirt layer. SetBrightness to-46 andContrast to-10, then also add aRecolor effect, that can be found on the "Adjust" category along with Overlay. OnRecolor, setHue to25 andSaturation to60.

Last shadow adjustments
We're almost there! But something still looks a little off with the shadowing back in the mountains, so let's create a rectangle which we will use as a shadow. Position this rectangle inside the Taj Mahal mask:

Set this rectangle'sFill to aLinear Gradient from black to black, but set the top part to 0%Opacity:

Set the rectangle's blending mode toLinear Burn and itsOpacity to60%:

Let's do the same with the lighter part of the mountains:
And that's it! Your final result. Feel free to add as many elements as you like.

You can download this .gvdesign file with all the images used here.
I hope this article was helpful and inspires you to create some new designs with Gravit Designer. Remember to check our Tutorials and User Guide if you have any doubts. Also, don't forget to share your work with us on our social medias!
How To Create Own Image
Source: https://www.designer.io/en/tutorials/photos/photo-manipulation-image-creation/
Posted by: murphyhatiorth.blogspot.com
0 Response to "How To Create Own Image"
Post a Comment